Fix Awful RV Shower Odors
Does your RV shower smell every time you try to take a shower?
Is that smell making your already short and cramped shower even more miserable?
The good news for RV owners everywhere – it doesn’t have to be that way! We can fix bad RV shower odors with some simple troubleshooting and then trial and error!
Making RV Showers Awesome
RV showers are notorious for being less than awesome. From small, cramped spaces to a lack of water pressure.
While there really isn’t anything I can do about the small space in my RV shower, I can do everything possible to make the rest of the RV shower experience awesome.
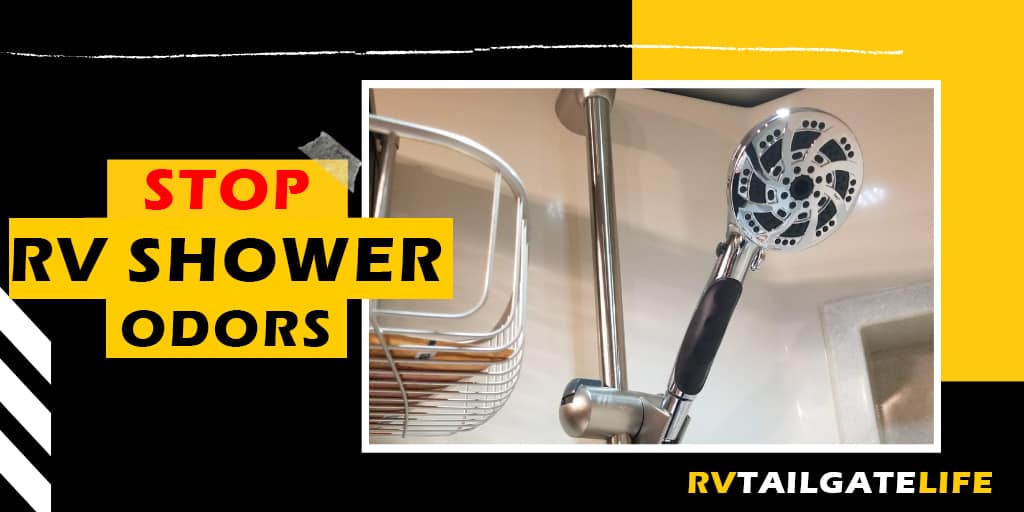
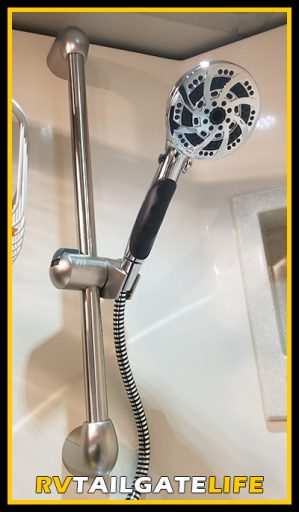
I solved the water pressure situation by installing an Oxygenics RV Showerhead soon after I got my Tiffin motorhome. This helped A LOT.
But I definitely don’t want to be dealing with really bad and unpleasant odors during my RV showers. While you’ll probably deal with this problem at some point during your RV life, the good news is that you can solve the smelly RV shower problem with a little troubleshooting and then trial and error.
What Causes Smelly RV Showers?
There are typically four main reasons that you are going to get a horrible odor when you start up your RV shower.
From the beginning of the system to the end of the system, in order, here are the main reasons you’ll get a bad odor in your RV shower:
- The water source is smelly.
- The water heater is causing your water to smell.
- The valve under the shower is creating the odors.
- The RV gray tank is a horrible mess.
Let’s take a look at how we can solve each of these problems and get you back to enjoying your RV showers.
See Also: Tips for Dealing with RV Odors
Bad Fresh Water
If your fresh water source has a lot of bacteria or certain chemicals in it, the water is likely to smell. This is going to cause your showers to smell.
You’ll also likely smell the water when using the sinks or toilets in your RV. It may not be as noticeable since your face may not be all up in the water, but it’ll definitely be noticeable in the shower.
To fix this, you really have two options:
- Find a new source of freshwater. Perhaps you’ve been using campground water and you need to switch over to your onboard tanks.
- Filters. Lots and lots of filters.
When it comes to filters, you have a few choices. Sometimes it even pays to double up on them.
The easiest is the inline water filter that attaches to your fresh water hose. You hook this up between the water source and your water hose which connects to the RV. This is a great, cheap option if you don’t have an onboard water filter. It filters sediments at 20-microns in size.

Another inline water filter is the Camco Evo Water Filter. It is heavier duty, with activated carbon and a replaceable filter cartridge. It catches impurities over 5-microns in diameter and then has the carbon for additional filtration and to help filter the bacteria.

The top of the line inline filters is going to be a multi-stage filtration system, getting bacteria, cysts, and viruses. The first stage is the 5-micron filter like the Camco Evo filter. Then there is the 0.5 micron filter that removes chlorine, VOCs, and other contaminants. Finally, the third stage filter goes after bacteria, like e. coli, and viruses.
Some RVs, like my Tiffin Open Road, also have water filters that are hooked up to the city water connection in the wet bay. These are also considered “whole house” filter systems, capable of serving several bathrooms. These water filters are commonly available from the big box stores.
Water from the Fresh Water Tanks Smell
If the smell is coming from your onboard tanks, but you believe that the source of the water is clean, you may need to sanitize your fresh water tanks.
Have you ever used a Brita filter pitcher in your fridge for a long time? After months and months of drinking the water and filling it back up, despite the filters, there is this layer of scum that forms on the pitcher.
If you felt so inclined to stick your head in the pitcher, you might find it even smells.
Well, the same thing can happen in your RV fresh water tank. So we sanitize them to get rid of that scum (and the bacteria) and hopefully also the odor.
Read More: How to Sanitize the RV Fresh Water System
Water Heater Causes RV Water to Smell
Does your water smell like rotten eggs?
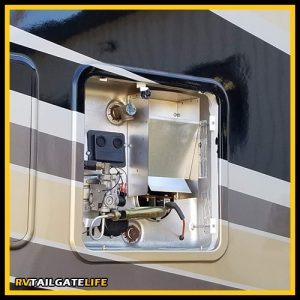
The likely source of this horrible smell is your water heater, specifically the anaerobic bacteria living there. As this bacteria interacts with the anode rod, they produce hydrogen sulfide. Combined with the magnesium or aluminum of the anode rod, you get this horrible rotten eggs smell.
Fortunately, the fix isn’t hard. To remove the rotten eggs smell from your water heater:
- Remove the old anode rod.
- Drain the water heater of all existing water
- Flush the water heater with hydrogen peroxide to kill the bacteria.
- Install a new anode rod.
A magnesium anode rods usually last about 1-2 years while an aluminum anode rod lasts about 3-5 years.
Replacing the Anode Rod
Most RV anode rods use a 1 1/16 inch socket. I don’t know about you, but I didn’t have that in my toolbox before I became an RVer.
So if you have never replaced your anode rod before, you’ll need a few things:
With the proper tools, it is easy to remove the old anode rod, although you might have to put some serious pressure to get it loose. Then put the plumbers tape around the threads at the end of the new anode rod and screw it in.
Oh, and make sure that you’ve turned off the heater and let it cool off before you do this. Otherwise, you could seriously burn yourself!
Shower Valve Smells
If you aren’t noticing any nasty odors coming from your kitchen or bathroom sinks or even the toilet, then one of the likeliest culprits is the valve under your RV shower.
Many RV manufacturers use a special kind of valve under the RV shower because of the limited space.
A HepVo valve is a waterless valve. It replaces a traditional P-trap like you would find in a bricks and sticks house. It provides an airtight seal between the gray tank and the shower using a special membrane or flap that works with water pressure.
The good news: without water, you don’t have to worry about it freezing during the winter, expanding and bursting.
The problem with the waterless valves, though, is similar to any shower drain you’ve seen before – hair (especially when it is as long and thick as mine is), soaps, and oils all build up and create clogs. This prevents the flap from closing. And thus, all the bad smells can come up from your gray tank and into the shower stall area.
Clearing Clogs from Hepvo Valves
So to compound that issue, you CANNOT use a clog removal tool like a snake to clear the hair and other stuff out of the valve. Using these tools can damage the seal that prevents the bad smells from coming up. So you’d remove the clog, but damage the seal. Not a good solution.
Instead, you’ve got to use chemicals and other cleaning solutions. I’m not a big fan of using Drano and other harsh chemicals in my RV tanks. Mostly because I want to protect the seals from degrading. And then also when you go to dump, these chemicals can really do a number on septic systems that many RV campgrounds use.

That’s why I use and recommend Bio-Clean Waste Eliminator. Bio-Clean uses bacteria and enzymes to break down the organic material, like hair and soap film, that live in our drains and pipes. But they leave the inorganic materials, like your pipes, alone.
And once it goes through the Hepvo valve, it will continue to your gray tank, eating up the organic material there. After you dump, the bacteria will continue in the RV campground septic systems, improving how those operate. All good, right?
Traditional Method of Baking Soda + Vinegar to Clear Clogs
Another more time tested method that sometimes works well is the baking soda and vinegar method. Just like you may have used at your home, you can use this in your RV shower as well.
To unclog RV drains with baking soda and vinegar, follow these steps:
- Pour near boiling hot water down the drain.
- Add a cup of baking soda to the top of the drain.
- Pour a solution of 1 cup of vinegar and 1 cup of water over the baking soda.
- Cover with a container or bucket (mop bucket anyone?). Wait 10 minutes
- Flush with more hot water.
When you pour the vinegar over the baking soda, it is going to create a chemical reaction that bubbles up. As it works down through the drain, it will loosen up the materials. The hot water after it will clear out a lot of gunk.
It’s not as strong of a solution as Bio-Clean, so you may have to repeat several times. It is a good maintenance option though to run weekly.
The RV Gray Tank Smells
In many newer RVs, the RV black tank has a rinse system that allows you to back fill the tank with high water pressure nozzle that sprays the entire tank. This lets you get a lot of the waste, from toilet paper to poop, that can be left behind on the walls.
Unfortunately, most RVs don’t have a similar system for the RV gray tank. Some high-end systems do, but most of us mere mortals do not have a gray tank rinse system. I find this highly annoying and problematic.
It’s a problem because the RV gray tank can be just as bad a smelly culprit as the black tank. From the hair and soap scum from the showers, toothpaste and makeups from the bathroom sinks, and then food particles from the kitchen sink, there’s a lot of stuff that can get stuck in the gray tank.
It’s one of the MANY reasons that I recommend that you leave your gray tank valve closed when you are at full hookup campgrounds. Only open it when you are ready to dump, so that you don’t let all those bits and pieces settle to the bottom of the gray tank a la a poop pyramid that forms in the black tank.
Anyways, back to the smelly RV showers…
When the Hepvo valve opens up, it can let odors creep up from the gray tank. This is really noticeable at the beginning of the shower when the shower waste water hasn’t flushed it all back down again.
How to Fix a Smelly Gray Tank to Fix Your Smelly RV Shower
The good news is that as long as you have a full hookup, it’s not going to be too hard to fix the smelly RV gray tank.
In fact, you just need to do a lot of laundry, take a lot of showers, and keep filling up your gray tank as far as you can get it. I am talking to the very rim, where you are getting some backup into the shower even.
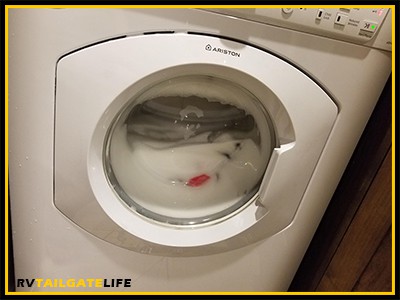
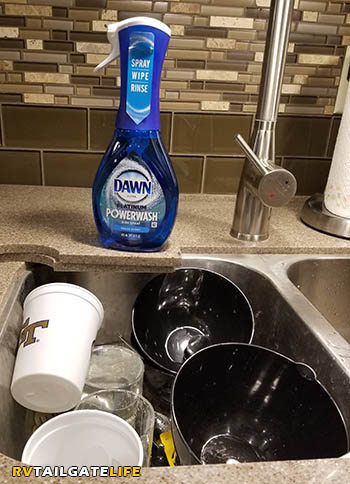
Then dump the tank all at once. By filling it up, you get to all the upper corners and crevices where waste can stick to the sides. Filling it up with laundry water, if you have an onboard washer, gets you some nice sudsy soaps to help clear out those smells and wash the tank as well. If you don’t have an onboard clothes washer, get to doing all the dishes with Dawn! It’ll do a lot of the same cleaning action.
Dumping a full tank helps use gravity and water pressure to get the larger waste bits out. You know how we recommend that you wait until the black tank is full to empty? Yeah, same thing with the RV gray tank.
Read More: RV Gray Tanks: The Other RV Waste Tanks
Stop Odors During RV Showers
After you’ve checked your water source, cleared out the water heater of bad bacteria, cleared the clogs from your Hepvo valves, and flushed out your gray tank, you should be clear sailing with normal smelling RV showers.
Like these tips? Pin for later!
You May Also Like:
How to Eliminate Funky RV Fridge Odors
Tips for Dealing with RV Odors
Make Your Own RV Black Tank Cleaning Bombs
