Make Your Own RV Jack Pads
At the beginning of the 2017 football season, I had already made plans for two RV trips – to UCF and then to Clemson. Both of these roadtrips were going to involve parking the RV in a field.
Which means there is always a chance for mud or other uneven surfaces that make operating the RV jacks problematic.
Insert solution: RV Jack Pads.
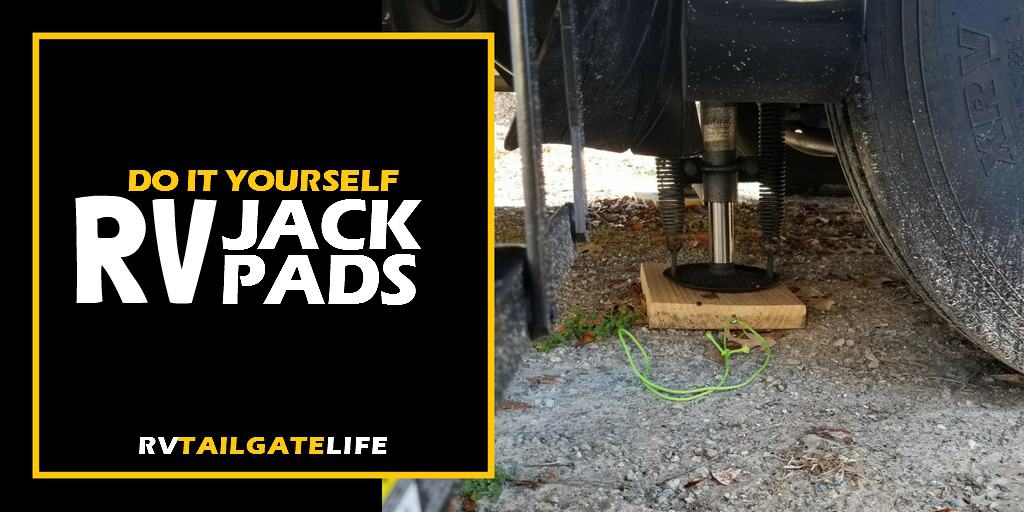
Why DIY RV Jack Pads
Remember, at the beginning of fall, I was short timing Starter RV – I was pretty sure that it would be my last season with the 1990 Winnebago Chieftan. I didn’t want to spend money on anything other than basic, required maintenance to keep it running. There were no mods or upgrades that wouldn’t be able to go with me to a new RV.

I’ve been to Clemson before and parked in that field. And for some reason, it always rains when Georgia Tech is there. And jacks + mud = a mess. I needed something for this season. I wanted a cheap but yet effective solution for jack pads.
See: always raining at Clemson
Safety First
I recommend that you use some good work gloves and eye safety glasses.
The work gloves will protect your hands from splinters and flying debris as well as provide some additional grip assistance. Make sure to get ones that fit your hands for precision work with power tools.
Safety glasses should always be worn when working with power tools. Your eyes are quite sensitive to debris and flying objects. And life would be so different without your eyes. Protect them!
Making the RV Jack Pads
These DIY RV Jack Pads are simple to make and add so much convenience to your RV setup. It took about an hour of work, after all the materials were acquired. And that’s with me stopping to take pictures for you.
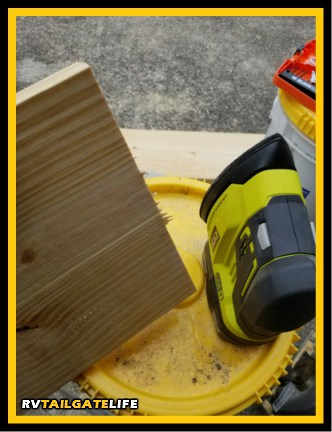
To begin, I ventured out to the local Home Depot and picked up a 2 x 10 x 12 board and some eye hooks.
Most hardware stores will cut the boards into smaller sections if you want them to. But they also usually charge by the cut. While it’s not expensive, if you have a circular saw at home, you can easily do it yourself.
I had the store cut the board into 3 foot long pieces so that they would fit in the backseat of my car, since I wasn’t taking the RV to the store for this project.
Once I got home, I cut the sections into 1 foot long pieces. Then I sanded down the edges a bit so I wouldn’t get splinters over time.
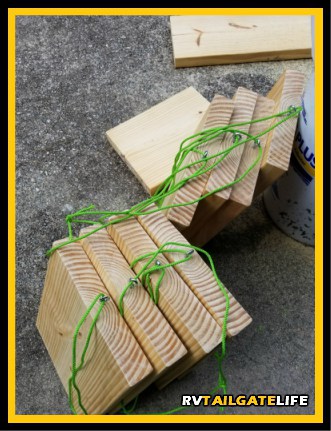
The next step was to add eyehooks and nylon rope. The bright nylon rope makes it a lot easier to grab the jack pads when they are under the RV. And the bright color makes it more likely that I’ll see them when doing a pre-departure walk-around, even if it is still muddy and/or raining.
I made a total of 8 jack pads, each 1 foot long.
I had some extra wood left over that I have added to my scrap pile for a future project. There’s always something that I will be able to use the scrap wood on, whether around the house or the RV, so I’m not worried about the extra wood. You could go ahead and make a couple of spares if you want.
Using RV Jack Pads
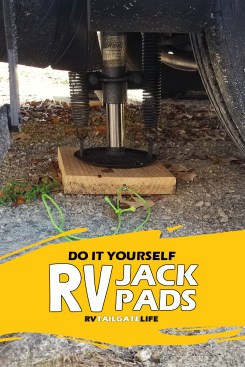
Jack pads are useful in a variety of ways. First, if you are parking on grass or gravel, jack pads are great to prevent your jacks from getting stuck in mud. Without a jack pad, the weight of the RV will push the jack down into the mud. Then when you try to retract them, they mud will create a suction holding the jacks to the ground. With a jack pad, you are providing a barrier between the mud and the jack, making it more likely that they will be able to retract.
Jack pads can also help you level up your RV. My jacks will only level up to 2 inches. Otherwise, they stop during auto-level and provide an excess slope warning. Add a jack pad under to help raise the ground level. If you are on a slight slope, use more than one to raise that corner to be level with the others. This is why I made 8 – 2 for each corner jack.
So far, I have not needed to use more than 6 at one time, but I did have one rope fall off. So it’s always good to have a couple of extra around.
RV Step Stabilizers
Retractable RV steps are notorious for not being the most stable. So as RV owners, we often add a step stabilizer underneath. Like jacks, the step stabilizers can only extend so far. And depending on your camp site, you may find that the ground and the step are too far apart, especially after leveling with your jacks.
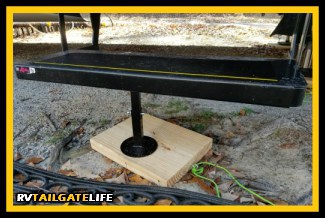
This happened to me when I stayed at Oak Plantation RV Campground last December. But handy dandy jack pads to the rescue – another reason to keep an extra couple of jack pads on hand. I added one underneath the step stabilizer and then was able to go in and out of the RV much easier.
Purchase Options
Don’t feel like making jack pads? You can always order some from Amazon. There are various ready made jack pads available for purchase.
I also plan on adding RV SnapPads to my setup soon. The advantage of these is that they stay on – no need to go under the RV to place them or pick them up (after initial install). Of course, they are a pricier option.
Even with Snap Pads in place, I’ll keep a few extra jack pads in the storage bays to help with leveling issues as we visit more stadiums and campsites.
See Also: Adding Permanent Jack Pads with RV SnapPads
DIY Jack Pads
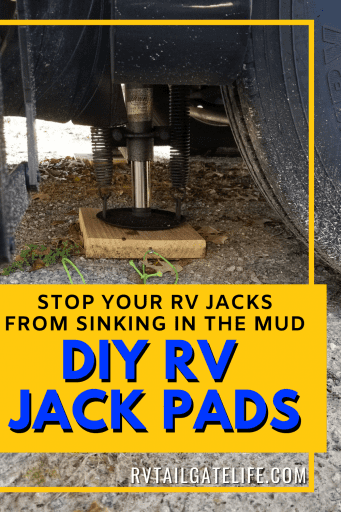
Have you made your own RV jack pads? How did the process go?
Want to make your own DIY RV Jack Pads, but don’t have time right now? Pin for later!
You May Also Like:
Adding Permanent Jack Pads with RV SnapPads
RVing in Severe Weather
Must Have RV Safety Gear


I basically have the same thing for my class a. But the have all broken over time. I was thinking about making new ones but buying a piece of horse stall matt and cutting it to the same size as the wood and using a combo of glue and screws to hold it in place on the wood. Might add a little more stability on solid ground and a little extra height too.
It’s pretty much the nature of the beast when you put heavy things on wood or plastic. I mean, our jacks even damage the asphalt pavement in some cases. So I do expect that any jack pads will eventually break over time. The good thing about the DIY versions is that it is pretty cheap and easy to replace with new ones. Just a few cuts and some sanding (if you are detail oriented, it’s not even required) and you are ready to go again.